Showing posts with label beanie. Show all posts

Friday, February 17, 2012

Monster and Bear Hats (crochet)

Monster Hat!!!!!!  Even though it's a monster, it's hard to not think of it as cute. :D  I was asked to make this hat for one of my nieces and I was more than happy to do it.                                                The pattern is from www.emiegracecreations.etsy.com and was well-written to follow and make it look exactly like the one in the Etsy.

I can see where it would be very simply to make variations on this hat for a million different looks. :)


And a bear hat!  This one is actually my own pattern/design.  I was asked to make a bear hat and although I have patterns for several different animal hats for kids, bear hat is not one of them.  When googling images of other bear hats to get an idea of what they look like, this is about what I was seeing...in various colors.  I like this one but I think I might like it even more if it was a dark brown with tan accents. (the opposite it is).  

This particular hat will be a give-away item on another blog soon- stay tuned for more info!! :D

Tuesday, February 7, 2012

Angry Birds, Mike Wazowski, and Beanies! (crochet)

Good evening!  I can't believe it was actually 62* outside today when just a couple weeks ago it was snowing and 15*! Crazy weather can't make up its mind.  No matter what kind of weather it is, it's always fun to make hats. :)

The pattern for this awesome Angry Birds hat came from a youtube.com user by the name of "tjw1963".  She has a video showing how to crochet it as well as links to the written pattern.  I made this particular one for one of my SIL's husband. 


These six were for family members.  I'd asked each of them before Christmas what their 3 most favorite colors were and here we are.  Now they all have their own custom colored hat!  Just basic beanies. :)


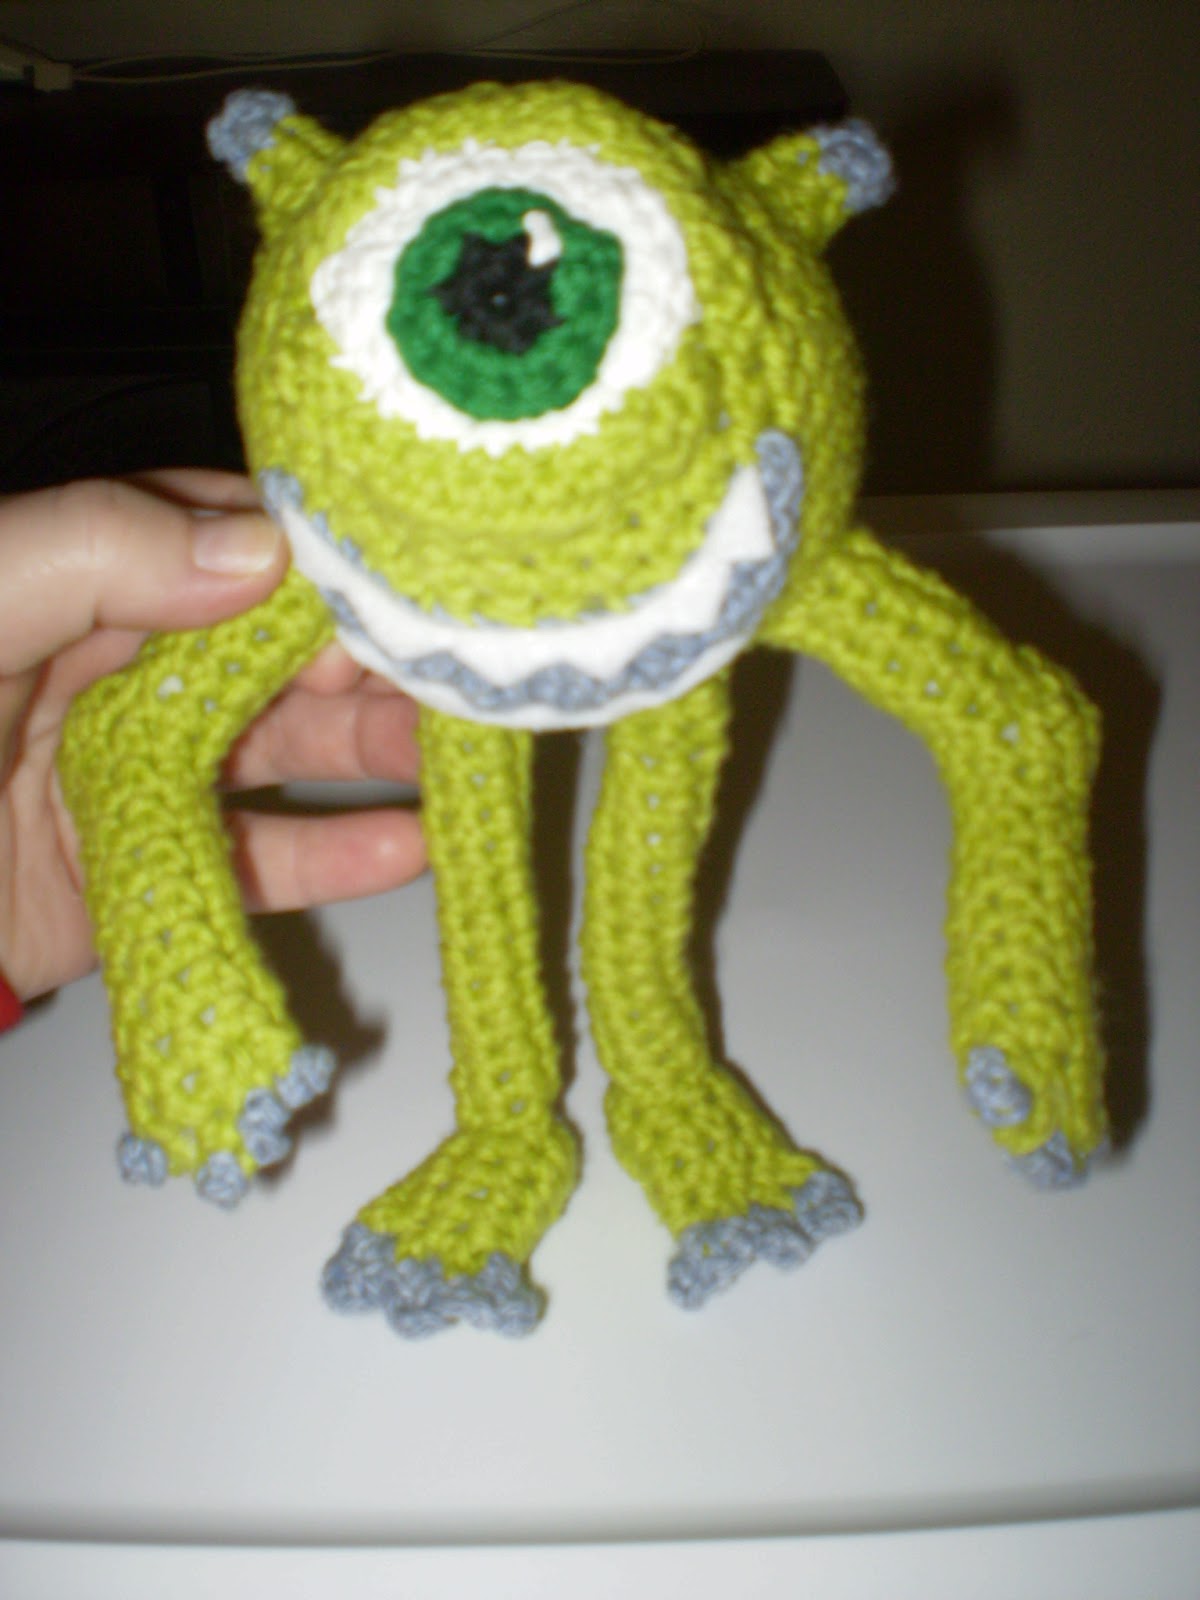
And finally for tonight.... an amigurumi Mike Wazowski toy (from Monsters, Inc. movie).  I don't know why the photo came out with him looking a mustardy-green color... he is actually more like lime-green.  Like the cartoon!  Silly camera!

I made him for one of my nieces who just turned 3 and is going through a "Monsters, Inc." phase.  Unfortunately I did not write down how I made him as I went along, though I really wish I had because he isn't from a pattern- I just made him up.  I do think if I made another one, I'd make his head/body bigger.  But for a first try, I think he came out pretty good!

His mouth, by the way, is crocheted grey underneathe, but the teeth are cut out of felt and craft-glued on.  I tried crocheting the teeth in several ways and it was just not happening....so felt it was!! What do you think of the final guy? :)


Off to work on more projects!! :)  Hope everyone enjoys the pictures above and maybe get inspired to make some as well. :)

Saturday, October 22, 2011

Slouchy Hat (crochet) and Marble Nail Art

One of the hat designs I've seen a lot lately for crocheting are these slouchy hats. They are really roomy and comfortable, so even people with long hair could wear them and keep their hair inside the hat if they chose.

Front view ^^^ Most hats I make start at the top, but for this one you make the band first and work your length from there. I used a variegated mixed-fiber yarn. The pattern is from the Caron yarn company website as a freebie under the title "Urban Jungle". You can go to www.caron.com to look it up if you'd like to try it also.

One difference I made from the pattern was the style of "popcorn" stitch. Their version has you do 9 SC into the spaces for each popcorn and I didn't like how difficult that made it for me to manipulate the hook and work the yarn. So I did mine as DCs instead and only used 5 per. So if you go try their pattern and do it as written, it will probably have a slightly different look, but the same basic idea. :)


Again with the huge photo of nails!!!?? I don't know why it does that. As you can see, I still needed to do a little more "cleaning" up around the edges from where polish got on the skin. But you can see the idea of what I was going for! This is called Water-Marble nail art and happens to be the first time I tried it. Definitely not perfect, but not bad for a first shot. If you'd like to see how it is done, head on over to youtube.com and look up "water marble nail art"...you will see many choices and end results that are very pretty and varied! :)